TWR-MCF5225X-KIT

TOWER SYSTEM
Step-by-Step Installation Instructions
STEP
3
In this Quick Start Guide, you will learn how to set up the TWR-MCF5225X
module and run the default accelerometer demonstration.
Install software
and tools
• InstallCodeWarrior™Development
Studio for ColdFire
®
Architectures
v7.1 or later (Professional Edition—
30 day license)*
• InstallCodeWarriorPatchv7.1.2
• InstallFreescaleMQX™RTOSv3.4
Installintheorderlisted.Eachoftheseisincluded
ontheDVD.CodeWarriorincludedoffersa30-day
evaluation license. *Professional Edition is required
toruntheMQXLabTutorialsforunrestrictedcode
size and task aware debugging. For updates, please
visit www.freescale.com/tower.
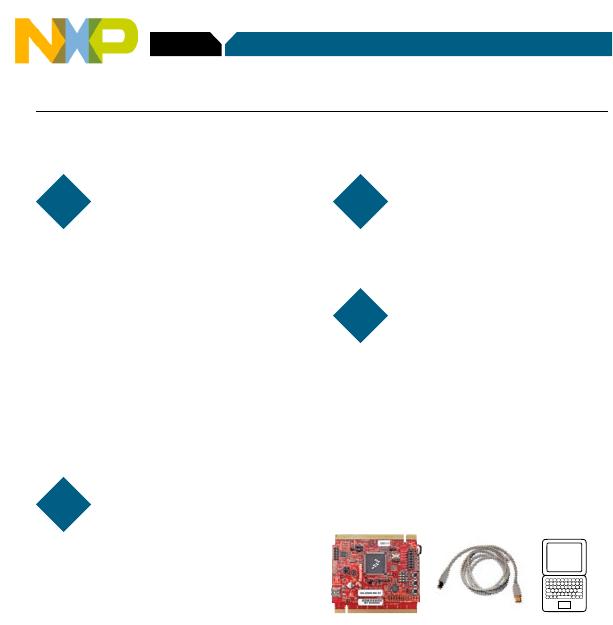
Connect the USB cable
Connect one end of the USB
cable to the PC and the other end to the
mini-B connector on the TWR-MCF5225X
module. Allow the PC to automatically
configure the USB drivers if needed.
Tilt the board
When the TWR-MCF5225X
module is flat, LED4 blinks slowly. Tilting
the board will cause LED4 to blink faster.
Explore further by
conducting Lab 1:
HVAC Controller, Freescale
MQX™ RTOS for MCF52259
To run a demonstration using the
TWR-MCF5225X, follow the instructions
in Lab 1: HVAC Controller, Freescale
MQX RTOS for MCF52259.
The lab is located in the TWR-MCF5225X-KIT-LAB
document,locatedundertheTrainingtabontheDVD.
STEP
1
STEP
2
STEP
4
TOWER SYSTEM Quick Start Guide for TWR-MCF5225X
Learn more about
the MCF52259
and MQX software
ReadthereleasenotesandtheMQX
traininglabsthatarelocatedontheDVD
and at www.freescale.com/tower.
• Lab 1:HVACController,
FreescaleMQXRTOSforMCF52259
• Lab 2: USB Functionality,
FreescaleMQXUSBandMFS
• Lab 3:TelnetandFTPOperation,
FreescaleMQXRTCS
• Lab 4:Web-EnabledHVACSystem,
FreescaleMQXRTCS
• Lab 5: Finding an Error Using Task
AwareDebugging(TAD)inCodeWarrior
• Lab 6: Ethernet to Serial Bridge,
FreescaleMQXRTCS
Use Lab 1 to re-program the board with the
default demonstration.
These labs require the TWR-SER serial and
TWR-ELEVelevatormodules.
Run simple
MQX projects
The included lab tutorials represent
completed end applications fully utilizing
the microcontroller resources. To begin
your application, there are simple
MQXtemplateslocatedunder
C:\Program Files\Freescale\Freescale
MQX 3.4\mqx\examples
Please visit www.freescale.com/tower
and www.freescale.com/mqx for the
mostupdatedLabTutorial,application
notes and other documents.
STEP
5
STEP
6
TOWER SYSTEM
Jumper Option Setting Description
J3 DefaultClockMode
Selection(CLKMOD1)
1-2 DisablePLLatstartup
2-3 EnablePLLatstartup
J4 MCU Power Connection ON Supply3.3VtoMCU
OFF IsolateMCUfrompower(connectanammeterto
measure current)
J5 ClockInputSource
Selection
1-2 ConnectEXTALtotheon-boardcrystal
2-3 ConnectEXTALtotheCLKIN0signalontheelevator
connector
J6 DefaultClockMode
Selection(CLKMOD0)
1-2 Donotusecrystaloscillatoratstartup
2-3 Use crystal oscillator at startup
J7 Peripheral Selection 1-2 ConnectAN3toPotentiometer
3-4 ConnectTIN3/TOUT3/PWM6toLED4
5-6 ConnectTIN2/TOUT2/PWM4toLED3
7-8 ConnectTIN1/TOUT1/PWM2toLED2
9-10 ConnectTIN0/TOUT0/PWM0toLED1
11-12 ConnectAN2toaccelerometorZ-access
13-14 ConnectAN1toaccelerometorY-access
15-16 ConnectAN0toaccelerometorX-access
J10 DefaultClockMode
Selection(XTAL)
1-2 Bypasscrystaloscillatoratstartup(ifCLKMOD0=0)
2-3 Enable internal relaxation oscillator at startup (if
CLKMOD0=0)
OFF Use crystal oscillator at startup
Jumper Options
The following is a list of all the jumper options. The default installed jumper settings are shown in bold.

TWR-MCF5225X-KIT

Mfr. #:
Manufacturer:
NXP Semiconductors
Description:
TOWER SYSTEM MCF5225X EVAL BRD
Lifecycle:
New from this manufacturer.
Delivery:
DHL FedEx Ups TNT EMS
Payment:
T/T Paypal Visa MoneyGram Western Union

Products related to this Datasheet